How do I get started?
Are you wondering if you should choose clear aligners over the other teeth straightening options that are available today?
If yes, let us help you find one of the most comfortable, affordable and quickest options for straightening teeth.
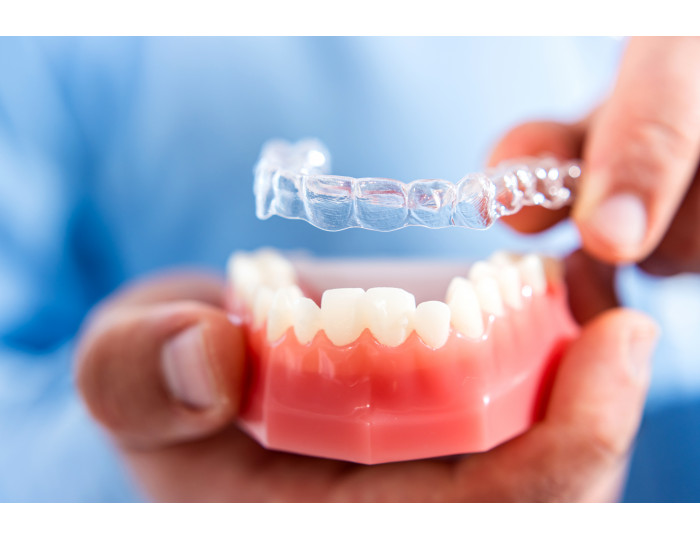
Clear Aligners are custom made for every patient, which means they are specifically made to address your particular dental situation. Series of such custom made aligners are used to straighten your teeth little by little until you reach your desired brand-new smile.
Below are a few easy steps that you need to follow to get your custom made Route to smile Clear Aligners:
Step-1: Book My Smile
You need to get in touch with us by filling out a form in the “Book My Smile” section of our website. Our team will then guide you to the nearest Route to Smile affiliated clinic, where you can start discussing with the doctor about the steps involved in the route to your perfect smile.
At the clinic, the doctor will discuss with you the type of malocclusion that your case falls into, he may also show you before and after pictures of the patient with similar malocclusion type who got their teeth aligned with the help of Route to Smile Clear Aligners. The doctor will also make you understand how aligners work. Also, he will take pictures of your teeth and discuss the tentative treatment cost and time.
Step-2: Precision for Perfection
Once you get an insight of your treatment and you wish to go forward with the treatment, then the doctor will take a precise measurement of your upper & lower dentition through a digital scan or an impression, which will help us prepare a customized treatment plan for you.
Digital scanning is a modern technique where 3D images are captured of your teeth on a real time basis. Within minutes, the doctor is able to visualise your jaw with your natural bite on his screen. It is a very simple process where
The doctor may also show you a digital simulation of your smile which will give you a better understanding of the treatment plan.
Step-3: A treatment plan as unique as your smile.
The digital scan or impression received from the clinic, helps our expert team to prepare your treatment plan. A digital simulation of how the teeth will move to their desired position will be shown to you in this treatment plan. The doctor can also show you this predicted smile superimposed on your face. This will help you understand what teeth movements are going to take place and the time duration that will be needed to get your perfectly aligned teeth. This advanced technology differentiates aligners from braces, where in the latter, it is not possible to show this simulation and you may not be aware of the changes that may happen over the course of your treatment and the definite timelines of your treatment completion.
Step-4: Unbox the Magic
Once you approve the plan, your custom-made aligners are fabricated according to the measurements recorded in the previous sessions and then delivered to your doctor’s clinic.
If IPR is needed in your case the doctor will inform you while discussing your treatment plan. IPR stands for Interproximal Reduction. It is commonly referred to as “enamel reduction” as it requires rubbing away little portions of the outermost enamel from multiple teeth in spots that are crowded or that surround crowded teeth and is largely done to create space.
Your treatment may also require placing little buttons referred to as ‘attachment’ on your teeth. These attachments are tiny tooth-colored “bumps” that are bonded to the teeth using dental composites. They will be placed at precise locations to allow the aligners to grip the teeth as they are guiding them to their new locations.
And once you get your aligners the doctor will also help you understand and practice the insertion and removal of the aligner and give you basic information on Do’s and Don’ts during the treatment. Once you know the insertion and removal you can now take your Route to Smile box home.
As a part of your Route to Smile box, you will get the following:
1) Instruction Manual - For aligner wear and care
2) Aligner Storage Case - To store your aligners, when not in use.
3) Retriever - It is a small plastic tool that will help you remove aligners from your teeth.
4) Chewies - They are soft plastic cylinders that are about the size of a cotton roll, which helps in seating your aligners in place.
5) Cheek Retractors - To enable you to take a more clearer picture of your teeth.
Step-5: Your Route to a brand-new Smile
Once you receive your Route to Smile box, you can now start wearing aligners as per your doctor’s instructions.
You may have doctor appointments periodically. In these appointments, the doctor will check the progress of the treatment and will also make sure that everything is going according to the treatment plan.
On treatment completion, the doctor may recommend you to wear retainers to ensure your brand new smile lasts forever.
Route to Smile Clear Aligners are designed to best suit your lifestyle, not to interrupt it.


